辐射:新维加斯MO2模组管理器前置


首先确保安装运行库:
很基础的一步,已经安装可以直接跳过
—————————————————————————————————————————
安装及配置:
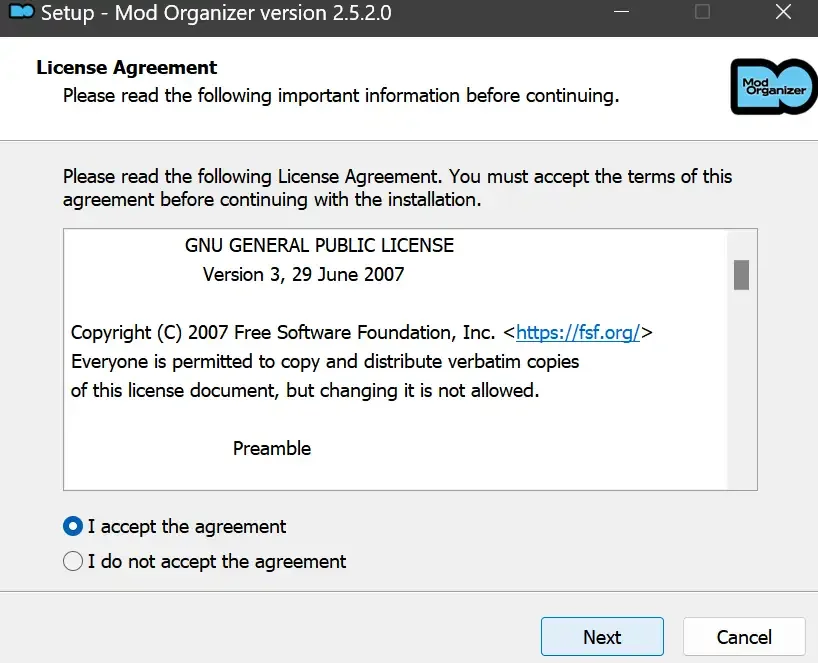
下载完成后打开安装路径后选择exe文件,选择同意协议、Next
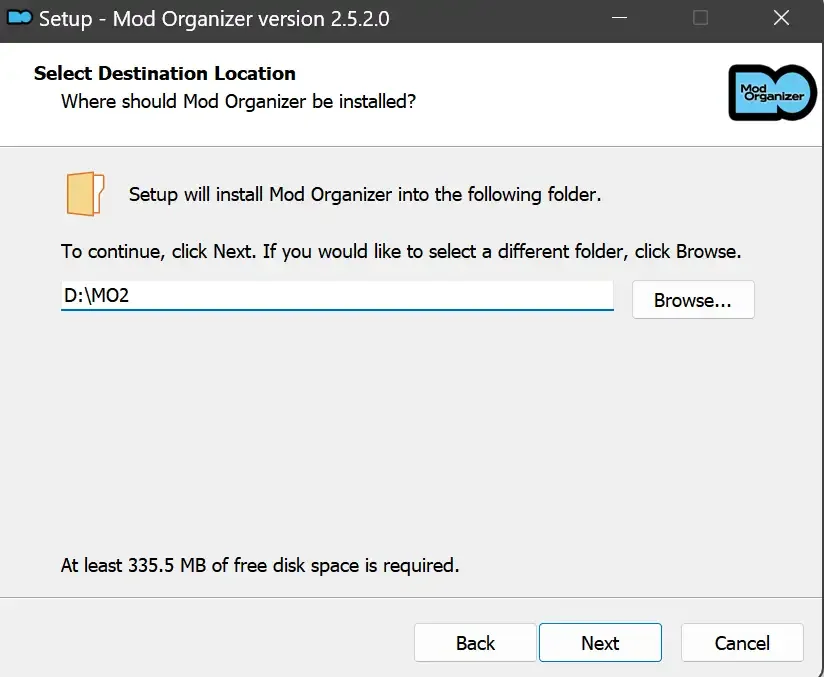
选择安装位置,注意把安装位置从默认的C盘目录更改到其他盘内,点击Next
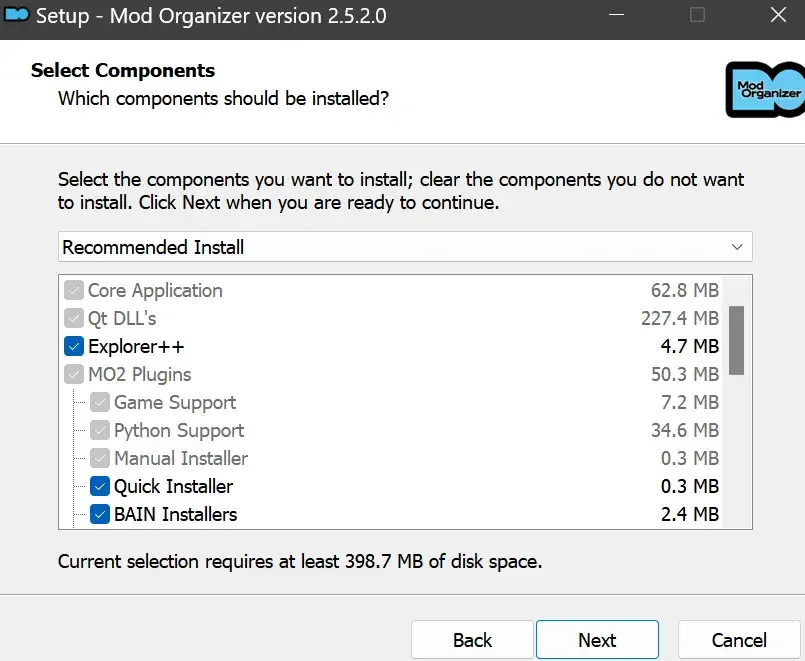
安装配置不需要更改,直接点击Next
创建一个桌面快捷方式方便打开,点Next

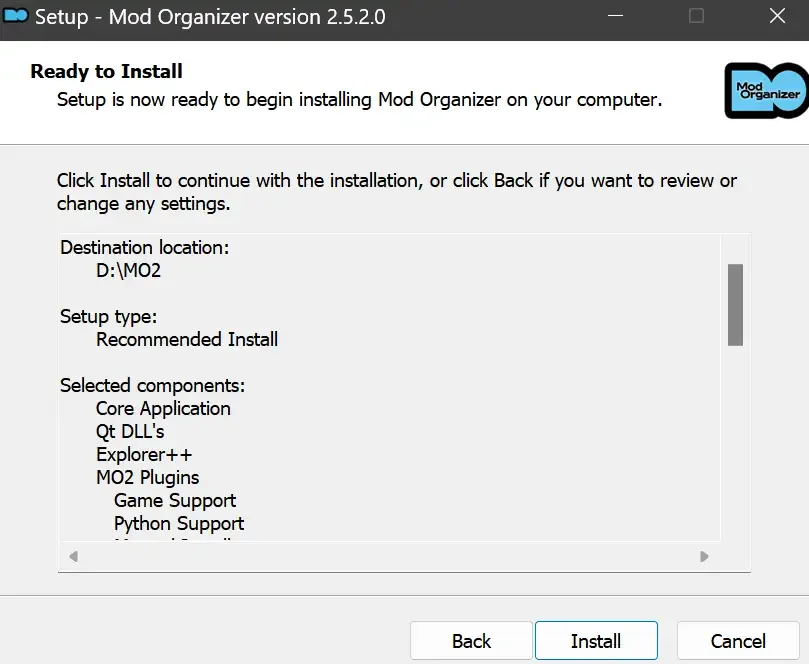
再次确认安装目录位于系统盘之外,点Install安装
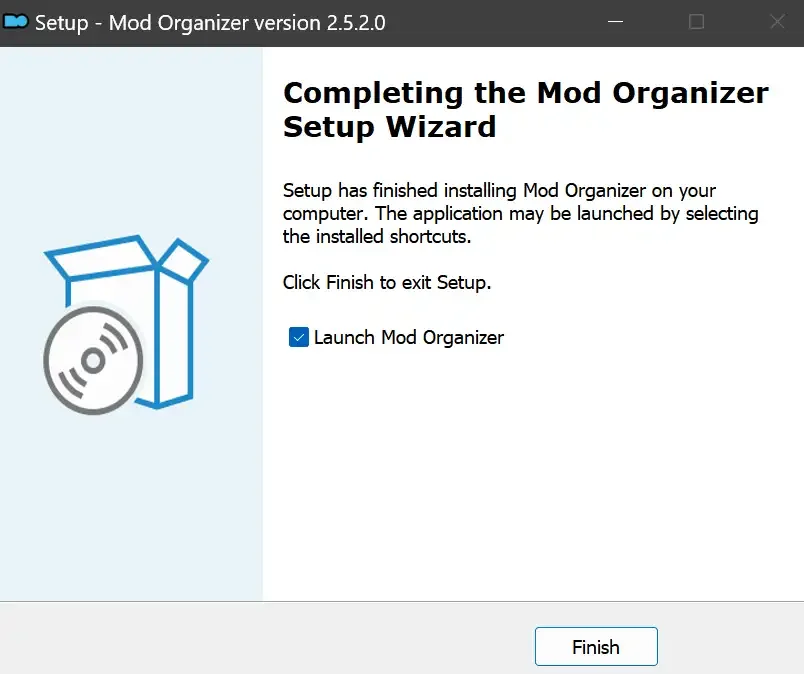
安装完成后点Finish,自动启动MO2
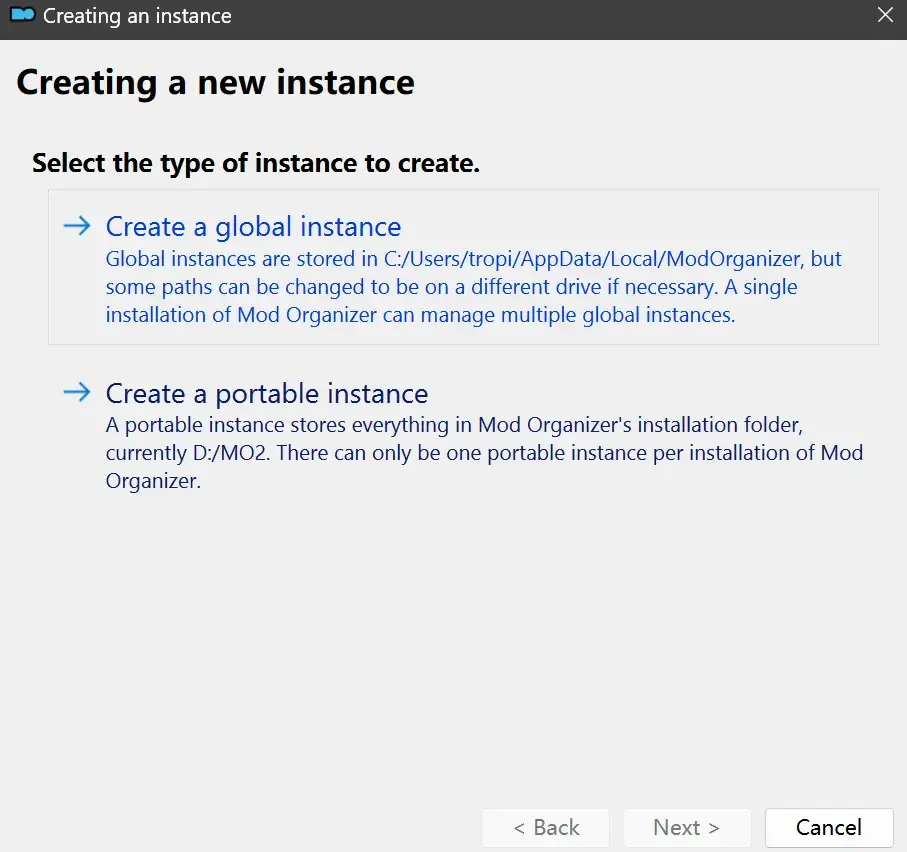
MO2启动,此时应该出现一个名为“Creating an instance”的窗口。(如果已安装MO2,则点击左上角第一个大按钮,点击Create New instance/创建新实例),点击“Create a global instance”(中文版则为创建全局实例),来到下一个窗口
检查此处的“New Vegas”选项是否与游戏的安装目录相符合,如符合则选择该选项,如不符合则点击“Browse...”手动选择游戏目录(Steam可右击游戏-管理-浏览本地文件查看)
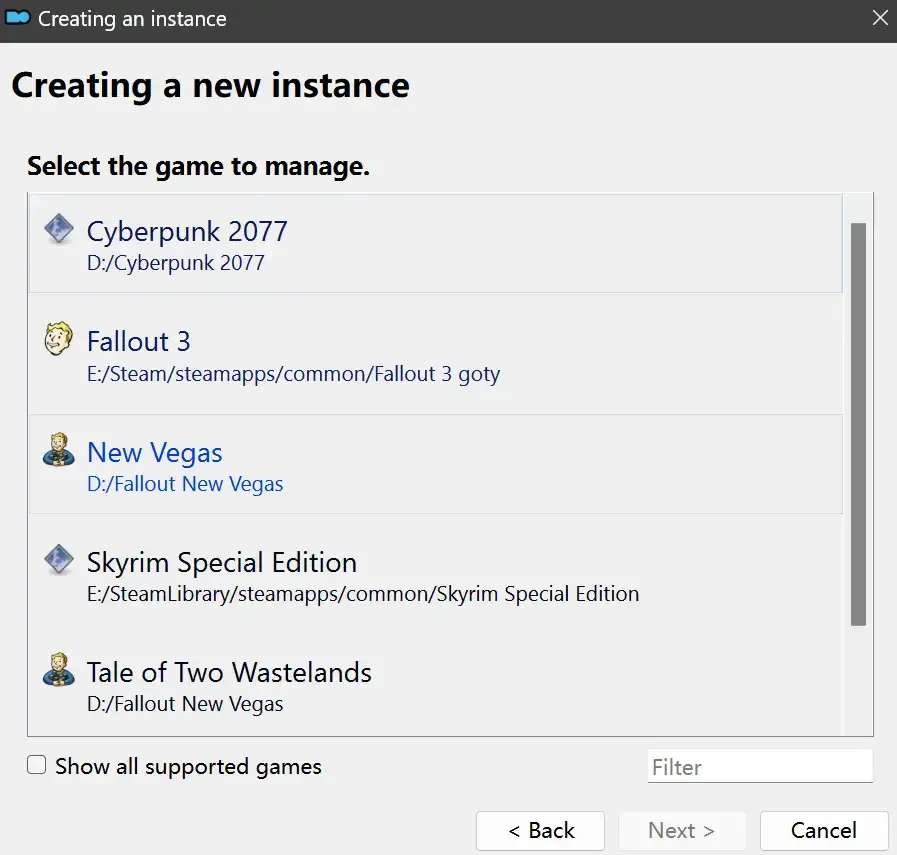
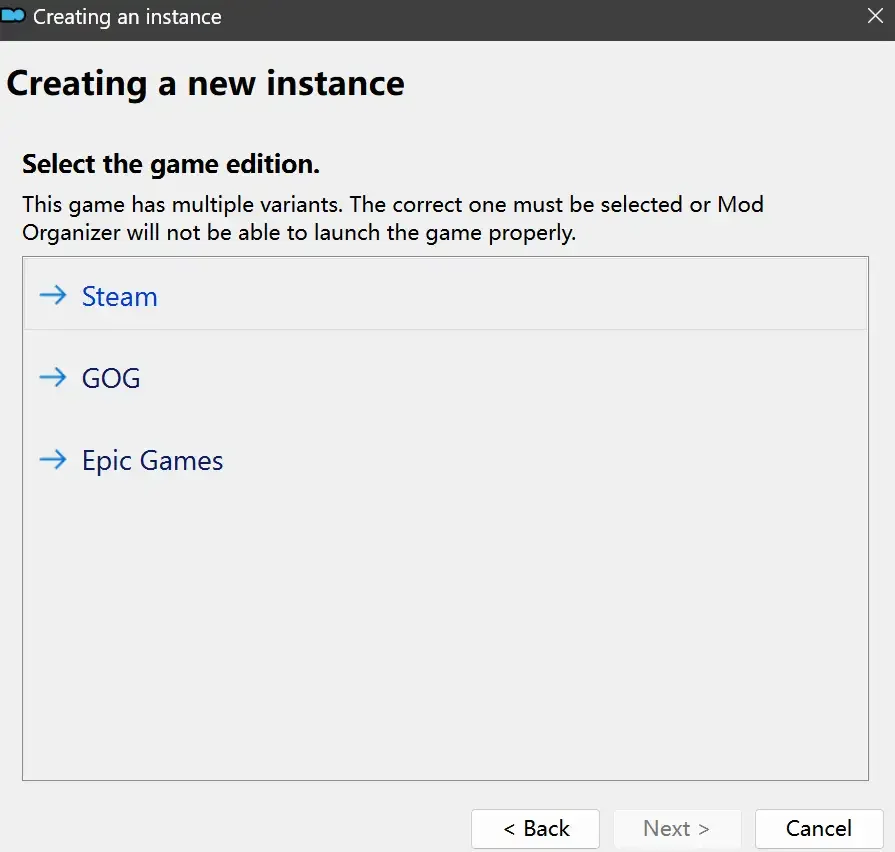
选择对应游戏版本,此处我用的是GOG版所以选GOG,Steam版选Steam,Epic版选Epic Games
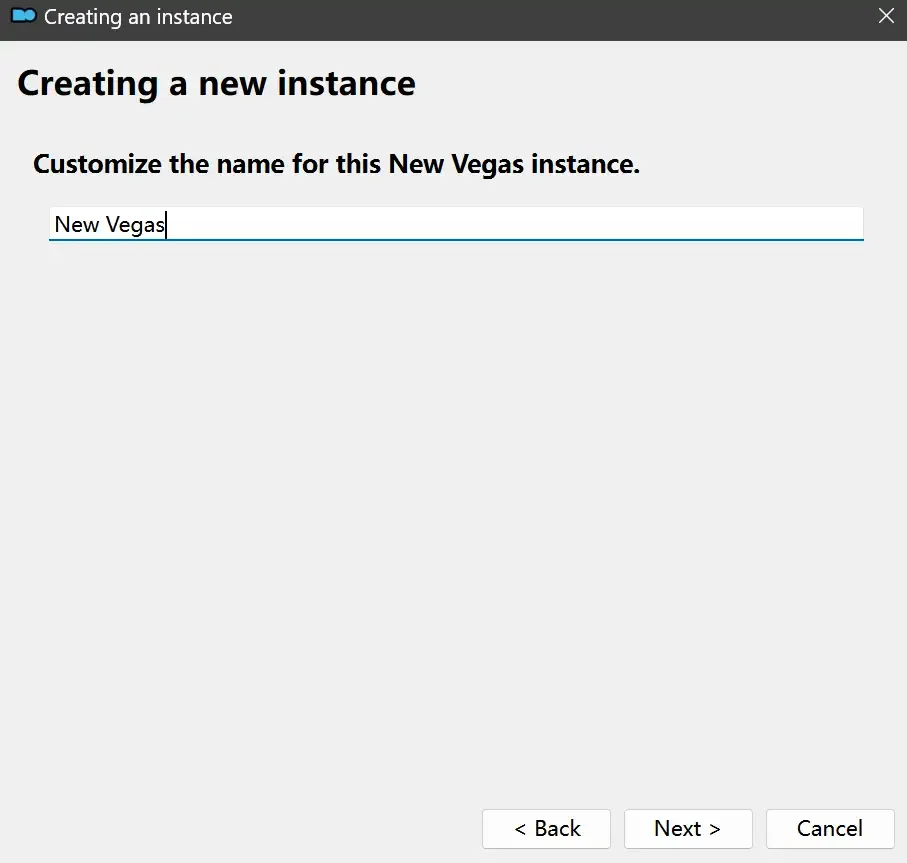
保持此处的实例名称栏目不动,点击Next
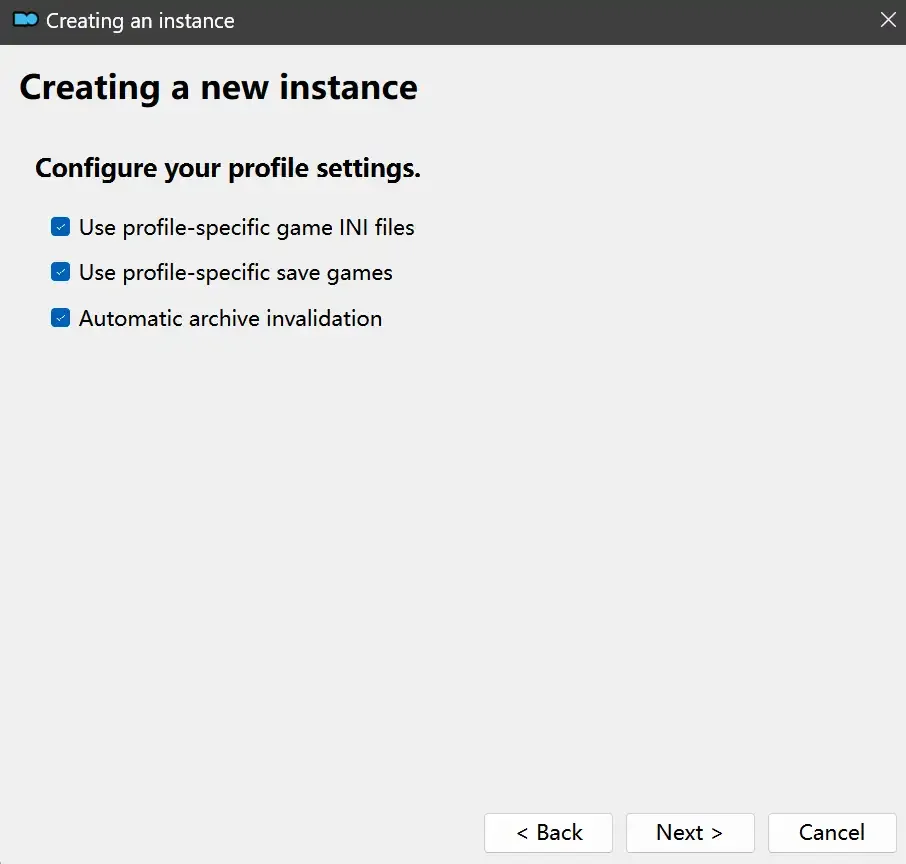
此处全部勾选,开启实例专用INI、实例专用INI存档、封装包无效化,点击Next
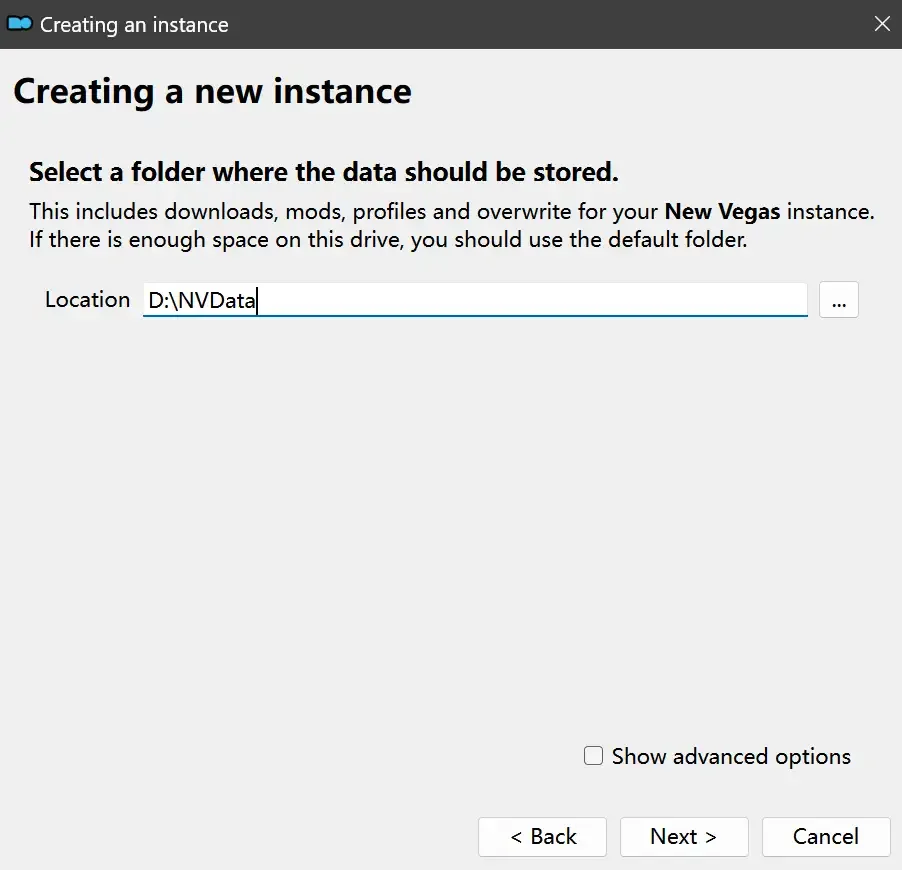
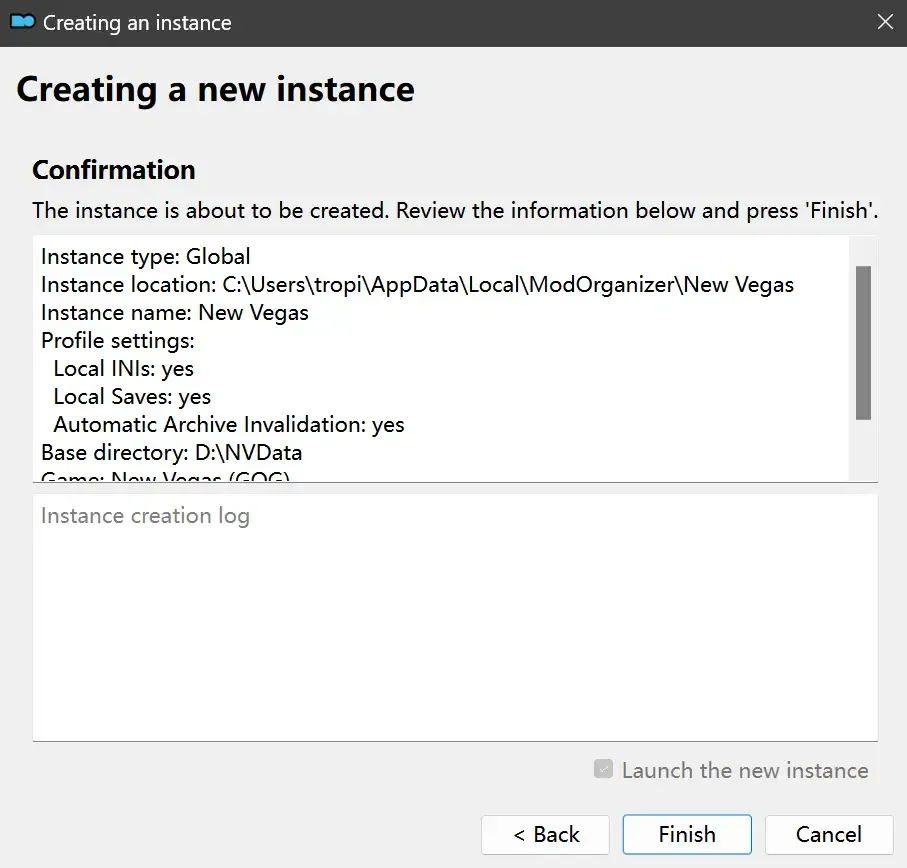
在一个非C盘、仍有较多空间的磁盘建立一个空文件夹(不要把实例创建在MO2文件夹或游戏文件夹里),在此处窗口的Location一栏中选择该文件夹,结果应如图所示。(如有Warning则无视)点击Next
点击Finish
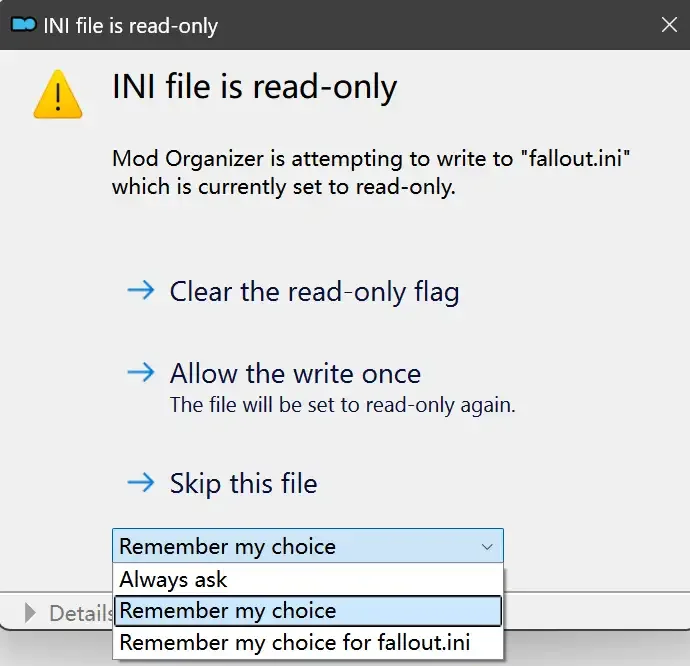
如此时弹出该窗口,则先选择"Remember my choice" 再选择"Clear the read-only flag",无则忽略
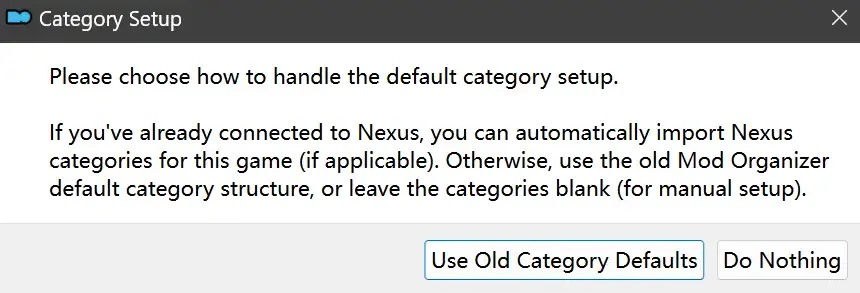
若出现此窗口则选择"Do Nothing"
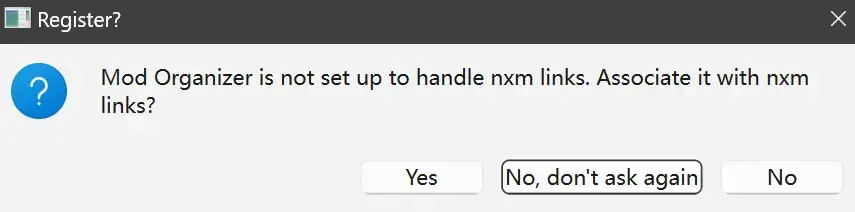
如继续弹出该窗口,选择“No,don`t ask again”,无则忽略(如弹出“Show tutorial?”窗口,选择“No”,无则忽略)
进入MO2后,首先点击被红圈圈中的该按钮打开设置
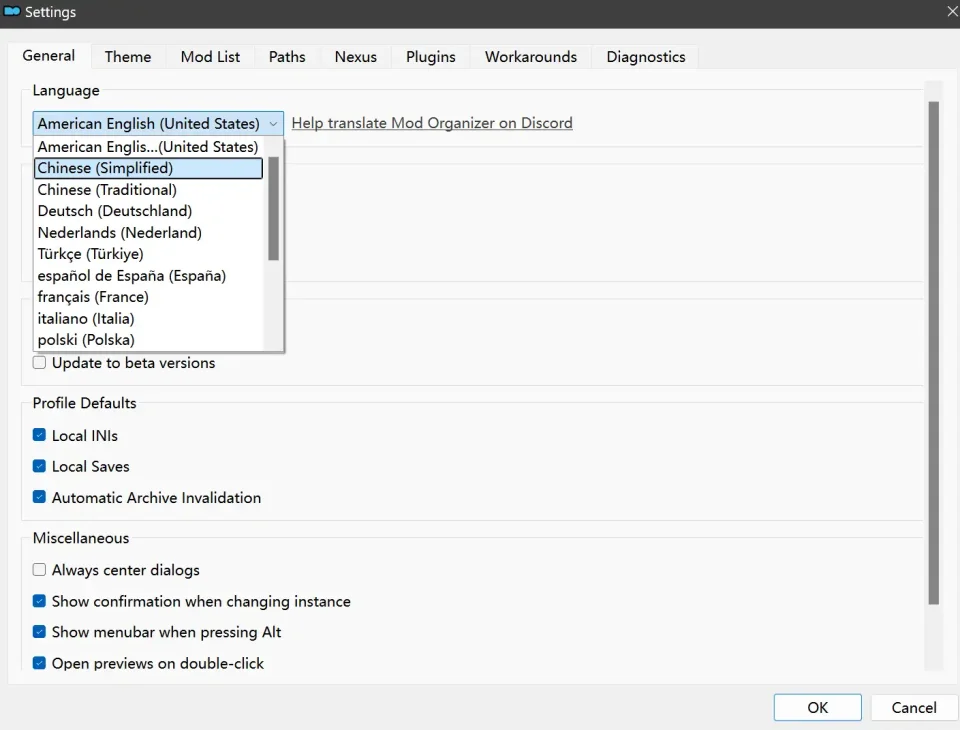
在此处的Language一栏中选择“Chinese(Simplified)”,切换为简体中文
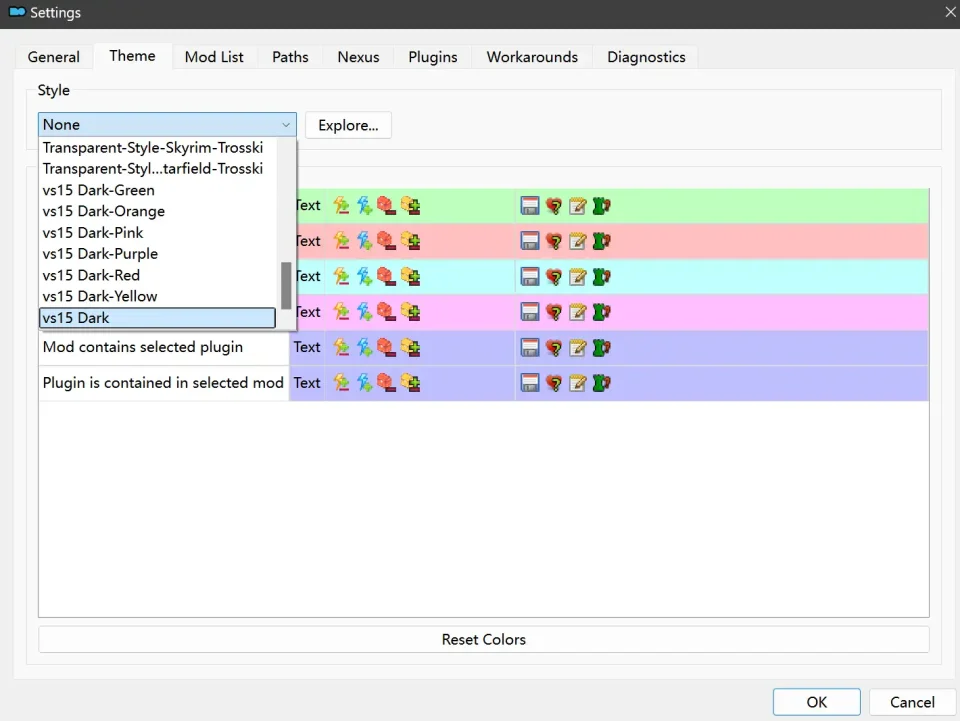
在Theme一栏的Style可选择自己喜欢的主题,我用的是最下面的vs15 Dark,点击OK保存
MO2界面下方Log一栏没有什么重要信息,可以直接关掉

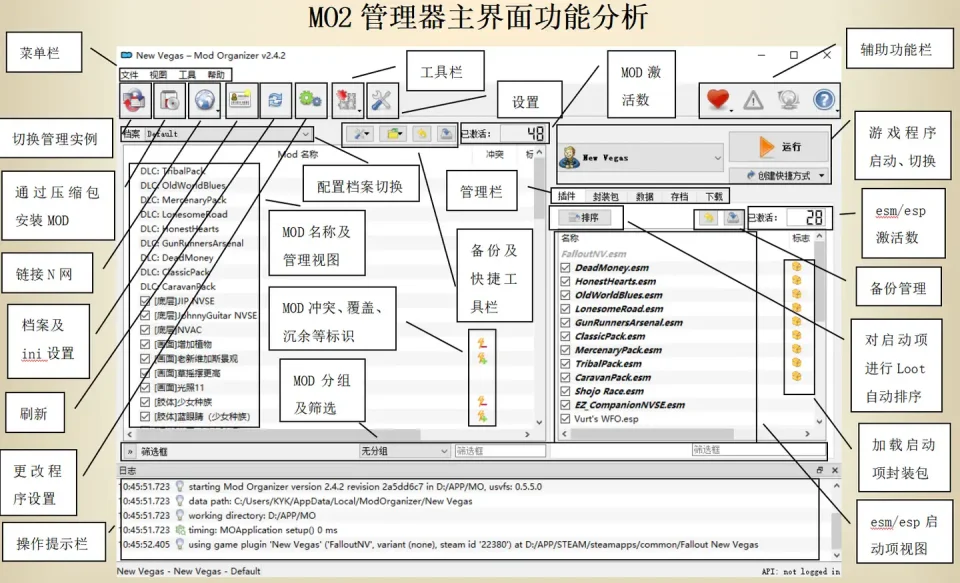
MO2管理器主界面说明
MO2配置
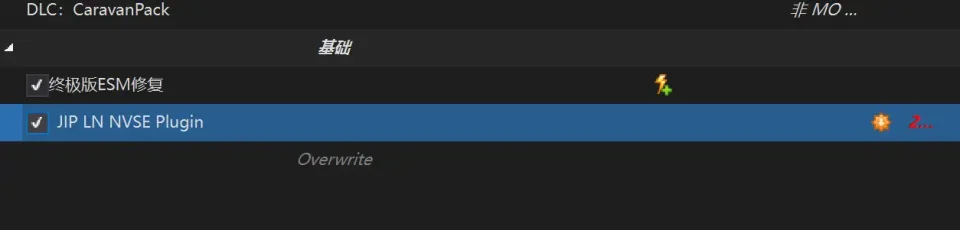
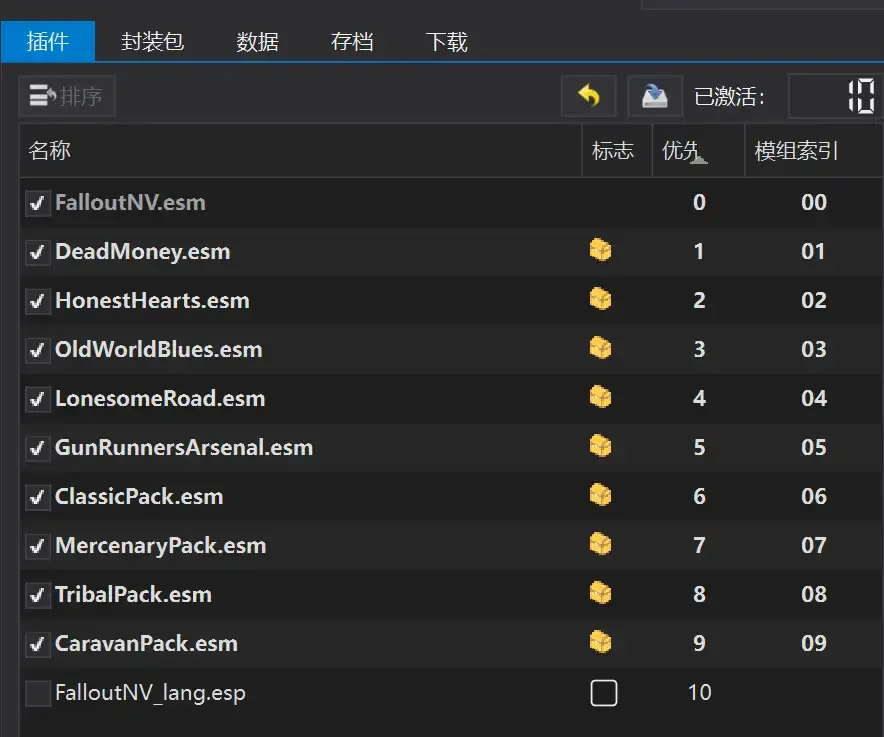
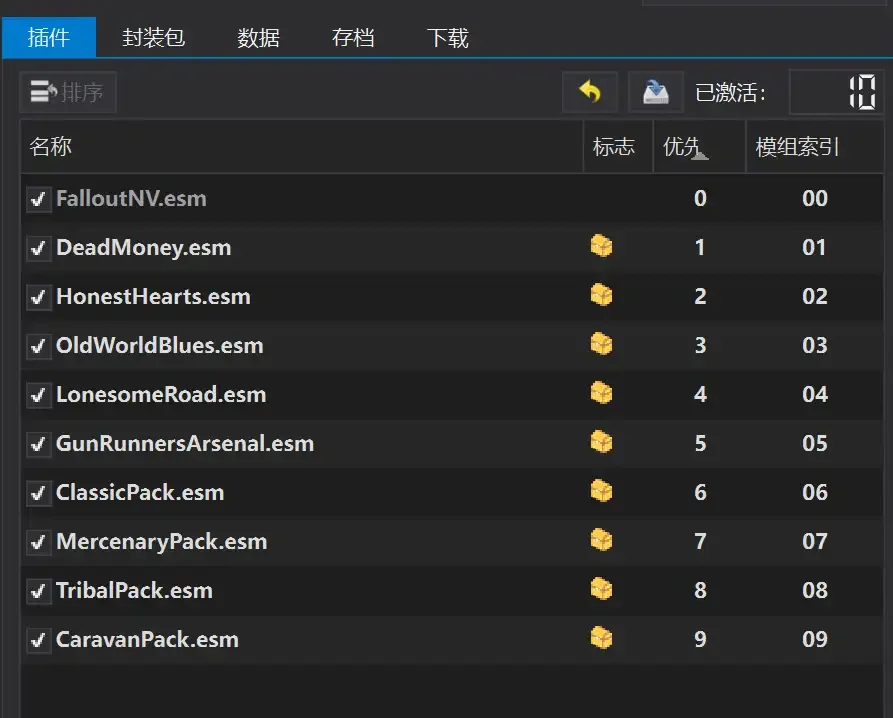
在右侧插件一栏中,拖动可改变插件加载顺序,请确保游戏本体的插件排列始终保持该顺序,无论如何都不要变更,日后添加新插件只能排列在此之下。
如果你像我一样,在底下多了一个名为“FalloutNV_lang.esp”的插件,需要按照以下步骤手动删除(没有则忽略):
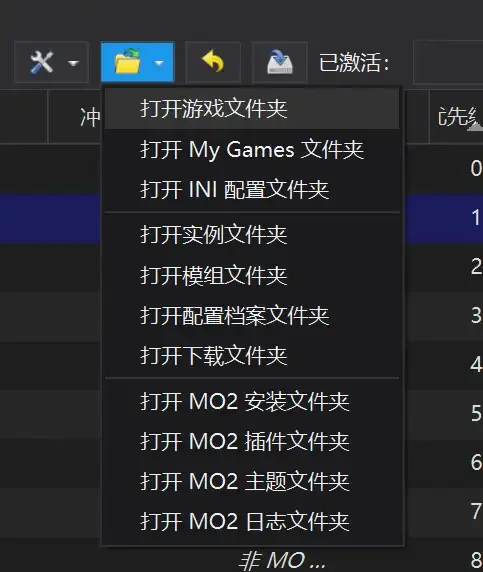
点击该按钮,打开游戏根目录文件夹
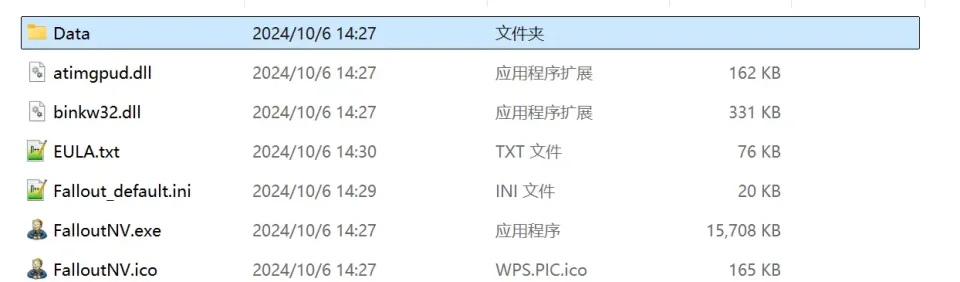
找到与FalloutNV.exe处于同一文件夹内的Data子文件夹,打开
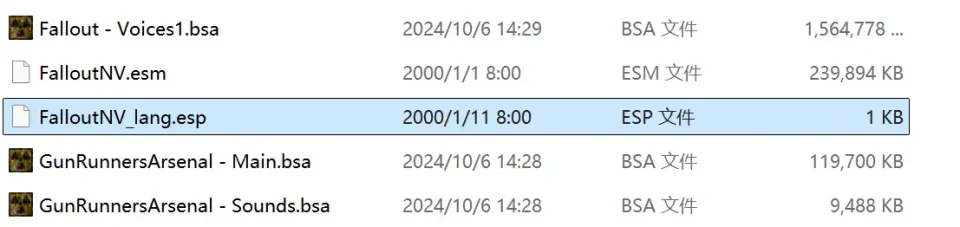
找到FalloutNV_lang.esp,删除
回到MO2按F5刷新,可以看到FalloutNV_lang.esp已经被删除
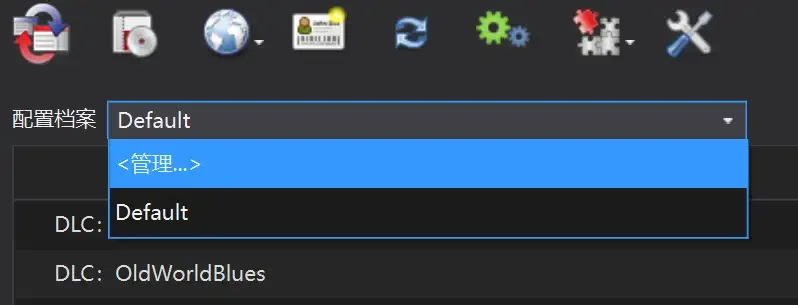
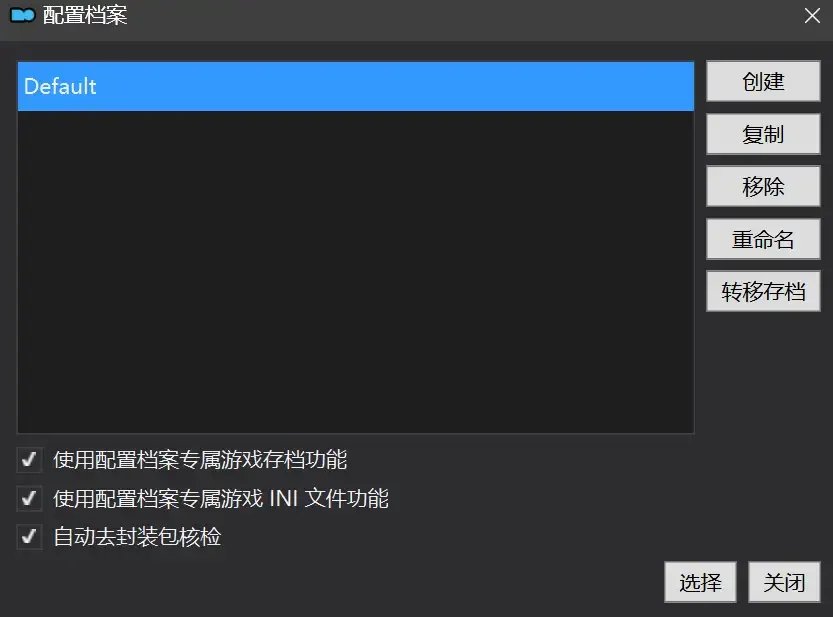
随后点击档案的Default字样,点击管理,将弹出新窗口
在新窗口中,确保下面使用专属存档、使用专属INI、自动去封装包核验(也就是材质无效化,以后不需要额外进行材质无效化操作)三项均已勾选,点击关闭
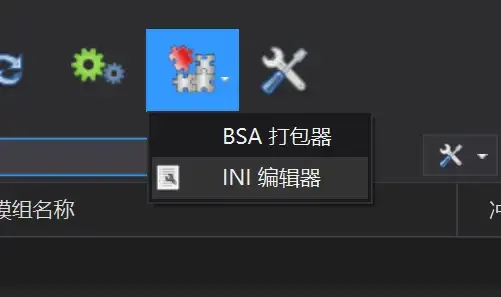
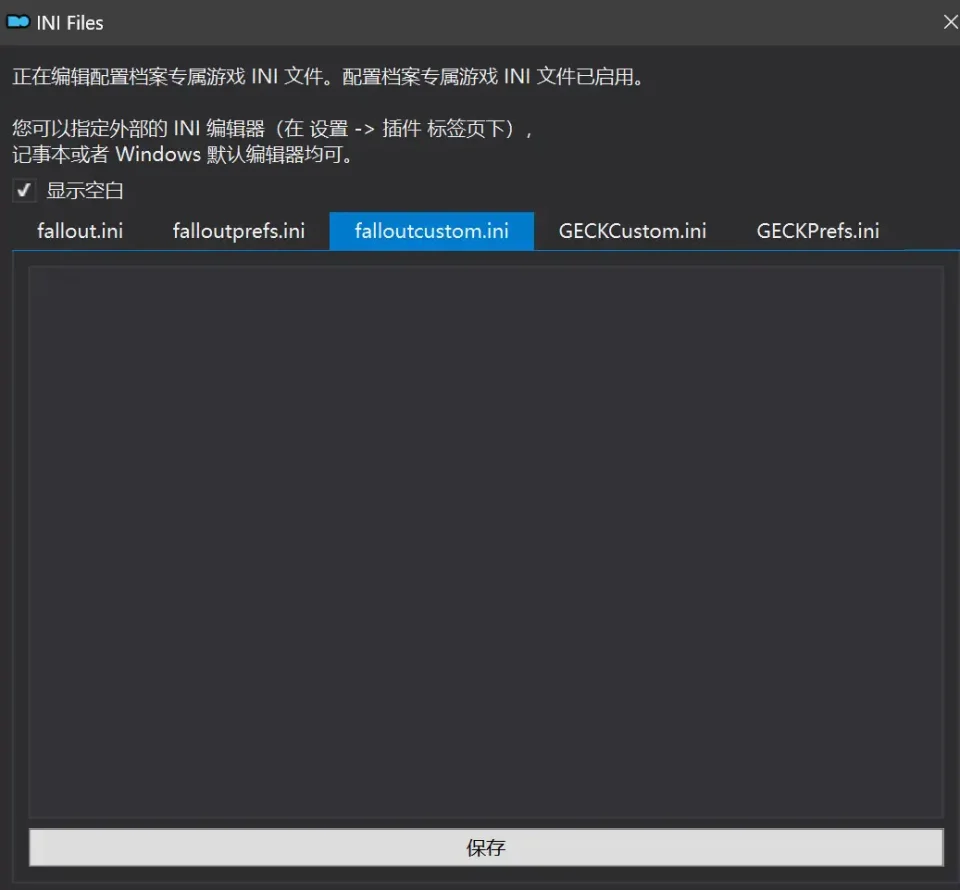
随后点击左上倒数第二个按钮即插件按钮,选择ini编辑器,此时将弹出ini编辑窗口
选择第三项falloutcustom.ini(此时该项应该为空白),随后完整粘贴以下内容:
; Value types (prefixes):
; i = integer (whole number)
; f = float (decimal number)
; s = string (text)
; b = boolean (0 = Off, 1 = On)
[Audio]
; Enables additional worker thread for minor performance improvement
bMultiThreadAudio=1
; Disables debug logging to save memory and CPU time
bUseAudioDebugInformation=0
; Increase audio file cache size to reduce loading stutter
iAudioCacheSize=16384
iMaxSizeForCachedSound=2048
[BackgroundLoad]
; Forces cell unload on fast travel to lessen memory usage
bSelectivePurgeUnusedOnFastTravel=1
; Reduces stutter when loading multiple NPCs
bBackgroundLoadLipFiles=1
[Controls]
; Disables mouse acceleration in menus
; Game does not have mouse acceleration for the camera
fForegroundMouseAccelBase=0
fForegroundMouseAccelTop=0
fForegroundMouseBase=0
fForegroundMouseMult=0
[Display]
; Enables Fullscreen mode for the best performance in D3D9
; Refer to the Performance Guide for more info
bFull Screen=1
; Use this for V-Sync control (the Launcher setting doesn't work)
; 0 = Off, 1 = On, Higher values toggle fractional V-Sync (not recommended, very laggy and disables Variable Refresh Rate)
iPresentInterval=1
; Forces highest texture quality so textures won't break if you had it set to anything lower
iTexMipMapSkip=0
; Disables actor shadows due to their low visual impact and high performance cost
bDrawShadows=0
iActorShadowCountInt=0
iActorShadowCountExt=0
; Camera FOV
fDefaultWorldFOV=75.0000
; Viewmodel FOV
fDefault1stPersonFOV=55.0000
; Pip-Boy and terminal FOV
fPipboy1stPersonFOV=47.0
[General]
; Forces faster cell unload to lessen memory usage
bPreemptivelyUnloadCells=1
; Spreads AI and game logic updates across 2 threads for better performance
; Values above 3 don't change anything, and the setting has nothing to do with the number of CPU cores
iNumHWThreads=3
[Grass]
; Increases grass draw distance
fGrassStartFadeDistance=11200
; Ensures that 3.0 Vertex Shader is used.
; Allows drawing more grass with better performance
b30GrassVS=1
[PipBoy]
; Fixes flicker when opening Pip-Boy when its light is on
fLightEffectFadeDuration=400
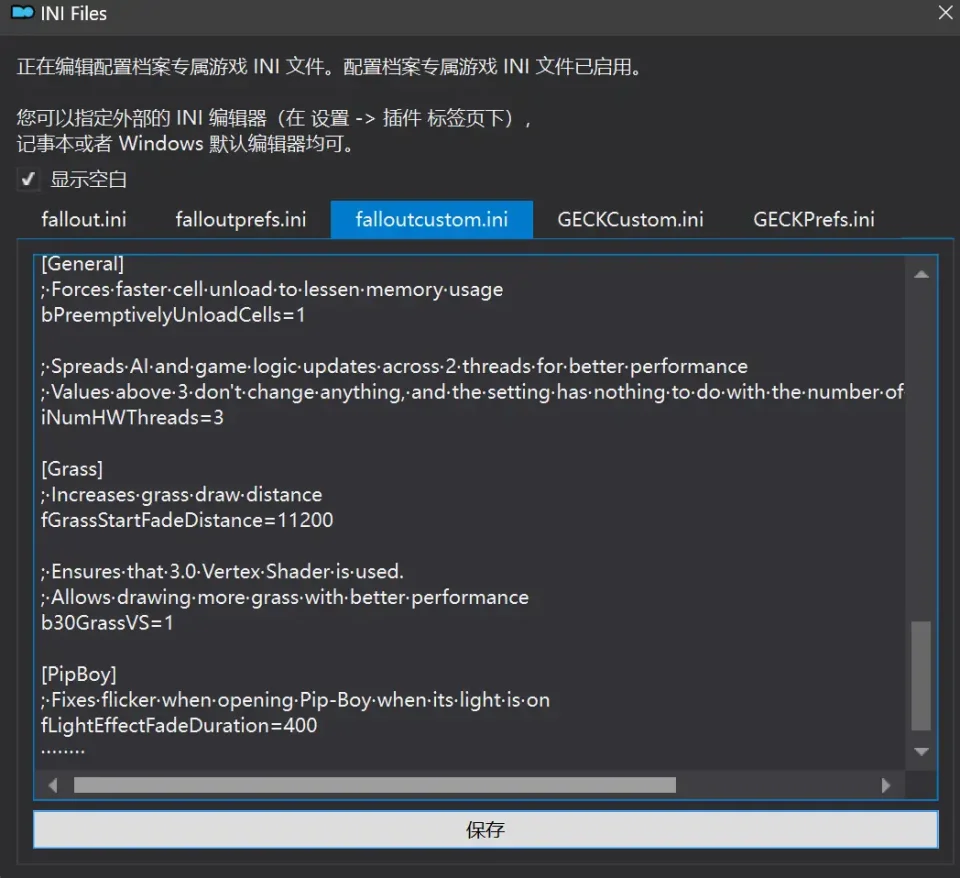
粘贴后点击下方保存,然后关闭INI编辑器,MO2管理器安装与配置到此结束
___________________________________________________________________________________________________
MO2安装mod的一般方法
点击MO2界面左上角第二个大按钮(图中被红圈圈中的按钮)
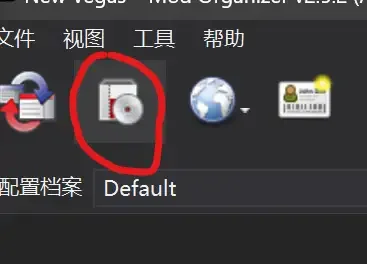
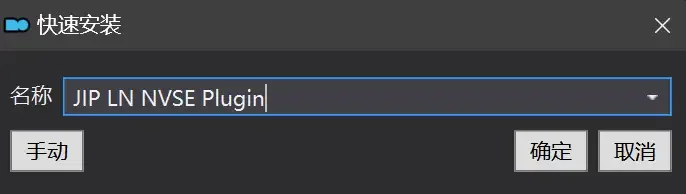
选择Mod的压缩包(此处以JIP LN NVSE插件的本体为例)并点击打开
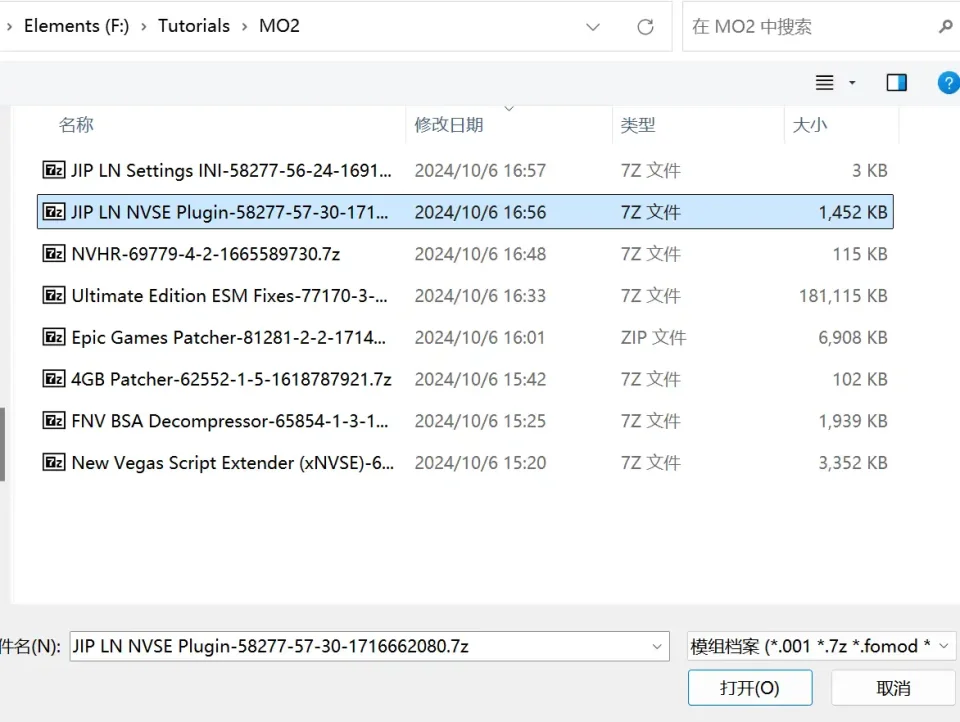
点击确定安装
最后点击前面方框勾选即可